
Can You Paint Over Gel Nails?
Most clients who ask me this are standing in their bathroom on a Friday night with a bottle of nail polish and a deadline. The gel is fine, maybe a week old, but the colour isn’t right for tomorrow. You can paint over gel nails. What changes depending on your situation is the prep, what you use on top, and what you do when you take it off. If you want more context on how different gel nails formats behave before painting over them, that guide covers the full picture.
The State of Your Gel Changes Everything
If the gel is sitting cleanly on the nail with no lifting or chips, painting over it is straightforward. If there’s a chip or a grown-out gap at the cuticle, there’s one extra step most people miss. That edge creates a ridge, and painting straight over it leaves a bumpy finish even with two coats on top. Buff that area flat first until it sits flush with the rest of the nail, then clean the surface before you start.
Regular Polish Over Gel
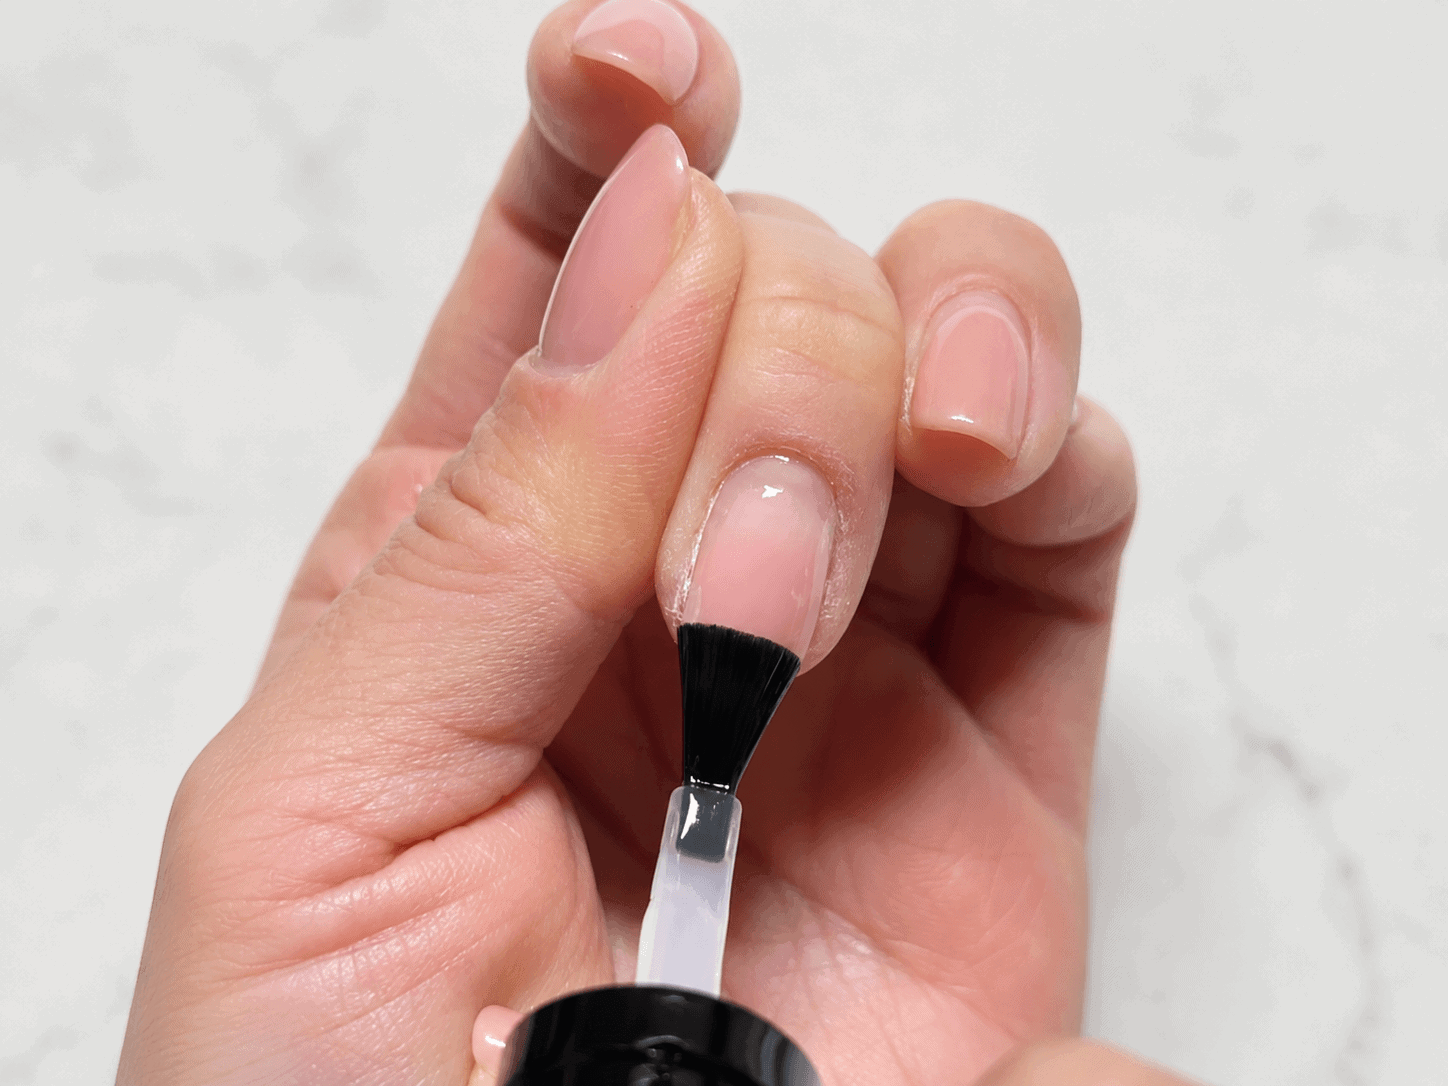
Gel cures to a very smooth surface and regular polish needs something to grip. A light pass with a soft buffer, just enough to take the shine off, is the prep step that makes the difference. Wipe the dust away with a lint-free pad, then paint as normal.
Two thin coats hold better than one thick one. Thick coats drag and streak on gel surfaces. A quick-dry top coat at the end gives a cleaner finish and protects the edges, which is where regular polish over gel starts to wear first.
Expect three to five days before it chips at the tips. Enough for a weekend, a work trip, or an event.
Gel Polish Over Gel
If you have a lamp at home, this holds longer and sits more cleanly. The chemistry is compatible, the bond is more reliable, and the result can last another two to three weeks if the base gel underneath is still in good condition.
Same prep as regular polish, a light buff to break the shine, plus one step that catches people out. After gel cures it leaves a thin sticky layer on the surface called the inhibition layer. Skipping the wipe with isopropyl alcohol on a lint-free wipe means the new colour slides around during application and won’t set cleanly.
The same gap-buffing rule applies here too. If you’re covering regrowth or a chipped edge, buff that area flat before painting or the new colour will sit unevenly over the ridge once it’s cured.
Painting Over BIAB
BIAB works the same way as gel when it comes to painting over it, with a couple of things worth knowing first.
If your BIAB was applied all-in-one with colour already built into the product, you can paint over it but the existing colour will show through anything lighter. Stick to a shade that’s the same depth or darker than what’s underneath.
If your BIAB was applied with a separate gel colour or regular polish on top of a clear BIAB base, buff that colour layer off before applying anything new. The structural BIAB underneath can stay, but the old colour needs to go first.
One thing to watch with BIAB
Because BIAB is thicker than standard gel, make sure the shine is completely gone before applying new colour or it won’t grip. Use acetone-free remover to take it off afterwards and work quickly as acetone can start to lift the BIAB layer underneath if it sits too long.
The Removal Rule That Most People Get Wrong
Take regular polish off with an acetone-free remover. Acetone dissolves gel, so a standard remover lifts the gel underneath at the same time as the colour on top. Most regular removers contain acetone, so check the label before you use it.
Don’t seal regular polish under a gel top coat
A gel top coat over regular polish sounds like it should make it more durable. It doesn’t. Regular polish needs its solvents to evaporate fully to dry, and sealing it under a cured gel top coat traps those solvents. The top coat wrinkles, peels off in one sheet, or the polish underneath never fully sets. A quick-dry regular top coat is the right finish here.
When Painting Over Gel Nails Makes Things Worse
Gel that’s lifting significantly at the edges is a different situation. New colour over a lifted edge doesn’t cover the problem. Moisture gets underneath more easily, the lifting continues and becomes more obvious under the new layer.
That’s the point where a proper removal and fresh start is the better call. The how to remove gel nails at home guide covers that process safely if you can’t get to the salon.